Page 1 of 2 12 LastLast
Results 1 to 30 of 50

Thread: Z-grip RT Classic - rebuilt!

  1. #1

    Z-grip RT Classic - rebuilt!

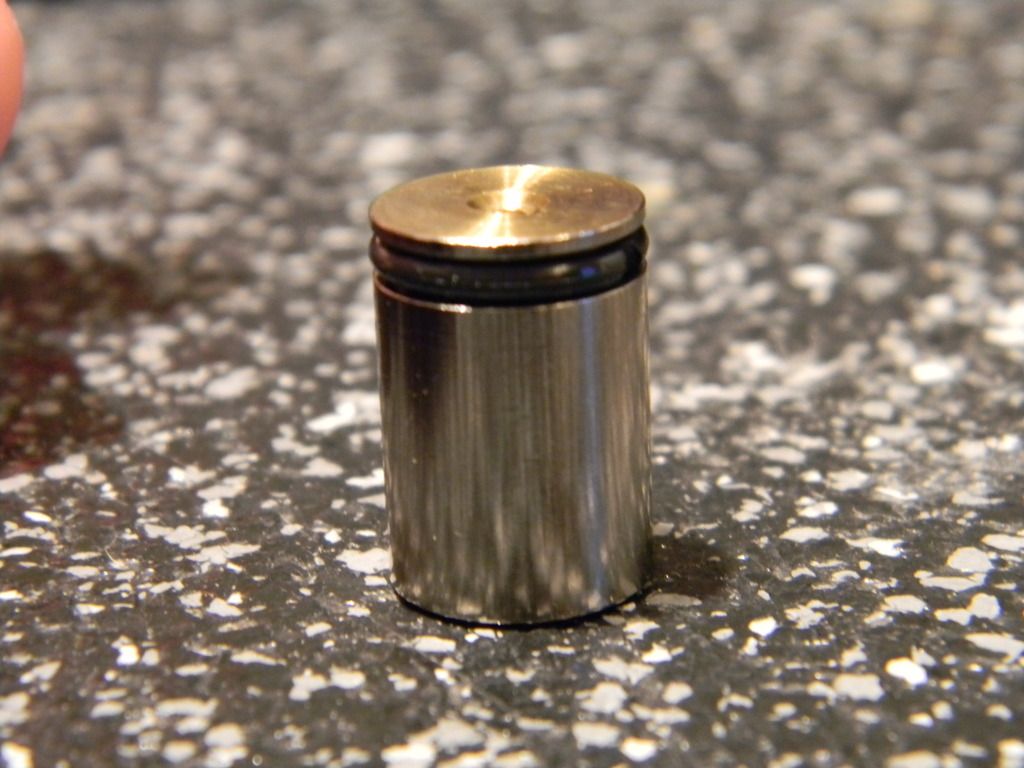
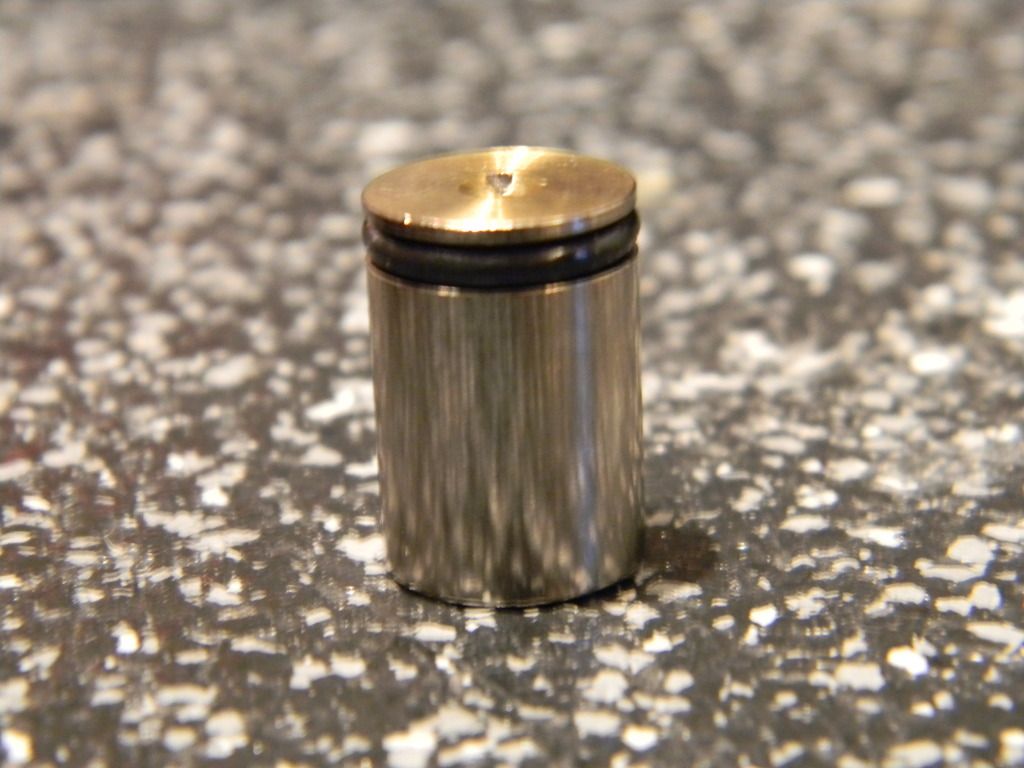
    First a pic. Picked it up over on MCB. Unfortunately the grip has holes drilled in it One is clearly for adjusting the rear trigger stop. The other holes which are about 1/4" or so below the other are for nothing? I do not have a pic yet.


    Now the questions.

    First off, it cycles fine but leaks out the back. The air comes through the velocity adjuster hole in the back. It slowly fades away with the trigger pulled. I put a new Oring on the reg piston in the back half, but it did not change. Yes, I ran oil through it to see if it went away. It didn't.

    Secondly, to adjust the reactivity of the valve, do I grind the fat end or thin end of the on/off pin? No I am not buying an SHP tank under any circumstances. Currently, my pin is at .740" length.


    **Update**
    The leak out the back was a damaged reg piston Oring. I put a new one on again and got the same result. I inspected the internal body where the reg piston goes and sure enough there is a bad gouge in it.

    What are my options?
    -Replace the valve assembly? I don't want to buy a whole new valve. It's way more than I want to put into this gun.
    -Is there any reason I can't just find a classic RT valve body back and swap it on? Does anyone have one? -Is there any chance the gouge could be repaired? My thoughts are no?

    Thanks!
    Last edited by Pghp8ntballer; 01-24-2016 at 04:36 PM.

  2. #2
    Join Date
    Oct 2001
    Location
    Inception Designs HQ
    Posts
    3,087
    It does not take much to shorten the pin. Its best to use a digital set of calipers and try to take off only .005 at a time if you can. That way you can tailor the reactiveness with the tank. Shorten the smaller end of the pin.

  3. #3
    Join Date
    Oct 2004
    Location
    Mt. Pleasant, SC
    Posts
    2,743
    your pin should be about right. I would just oil your mag regularly and it will begin to rt.

  4. #4
    I already have the digital calipers. Thanks for the info!

  5. #5
    Join Date
    Jan 2002
    Location
    Halifax, N.S., Canada
    Posts
    8,039
    A leak out the back is quite possibly the regulator seat oring. If you have a level 10 bolt, the regulator piston assembly needs to be the newer higher pressure version as well.

    You can simulate a shorter pin by inserting a couple of ULT or level 10 shims in between the on-off assembly halves. It prevents you from having to alter your pin.
    Except for the Automag in front, its usually the man behind the equipment that counts.

  6. #6
    I do need to order a complete set of Orings for it though...

    Yes it does have L10 but how do I tell what regulator piston assembly I have? I will keep the shim note in my mind.

  7. #7
    Cyco-Dude Guest
    increasing the tanks output pressure is the correct way to do it. that pin is already starting to get short. also, take care if you have an original rt sear. the carbide inserts may be hard, but that also means they are brittle and prone to chipping.

    Quote Originally Posted by Pghp8ntballer View Post
    I do need to order a complete set of Orings for it though...

    Yes it does have L10 but how do I tell what regulator piston assembly I have? I will keep the shim note in my mind.
    do you have any o-rings for it at all? the lvl 10 o-ring is the same size as the reg seat o-ring, so if you have a spare one of those you can use that. there could also be some debris in there causing it to leak. if you don't have any o-rings at all, i would just get a parts kit (probably go with an rt classic; as that one has replacement banjo bolt o-rings and a couple of reg seat o-rings; one of which you could keep as a spare for the lvl 10).

  8. #8
    I don't recall seeing any carbide on the sear. I didn't know they made them differently. But no signs of wear. I made sure to check when I tore it all down and cleaned everything. This is my first non-classic valved mag.

    I did put a new urethane Oring on the reg piston and one or two on the on/off but that's all I had spare wise. I might have an L10 Oring though. I'll have to check. I am going to order a parts kit this evening after work.

    When I cleaned it, there was some debris in the spring stack. I also found an entire Oring like a tank Oring, smashed under the reg piston. So I could have some more stuff in there.

  9. #9
    I found the leak. The brand new reg piston Oring had a big chunk taken out of it. I put a new one in, and immediately had the same issue. There is a knick or burr in the rear valve body itself that is causing the Oring damage.

    What can I do about this?

  10. #10
    Join Date
    Oct 2006
    Location
    Houston, TX
    Posts
    3,555
    Quote Originally Posted by Pghp8ntballer View Post
    I found the leak. The brand new reg piston Oring had a big chunk taken out of it. I put a new one in, and immediately had the same issue. There is a knick or burr in the rear valve body itself that is causing the Oring damage.

    What can I do about this?
    If the gouge only cuts the o-ring during installation and is not in the running area of the o-ring, you can burnish and sand it out. It could be from the spring rubbing on the body (which is not a seal area), so you would grind that edge off of the spring as well. If it's in the seal area, that would be tricky.

  11. #11
    Join Date
    Jan 2001
    Location
    Cottonwood, Az.
    Posts
    8,186
    Quote Originally Posted by Pghp8ntballer View Post
    There is a knick or burr in the rear valve body itself that is causing the Oring damage.
    Can you post a clear, in focus, close up picture of the burr?

  12. #12
    I will try. My photographing black items is poor.

    It's actually more of a gouge. I will check the spring for potential issues causing the gouge. It does seem to be high enough that it should not be in the seal area. But on the first air up, it cycled great for about 20 shots then it started to leak. With the second Oring, it was damaged immediately. The reg piston looks fine.

  13. #13
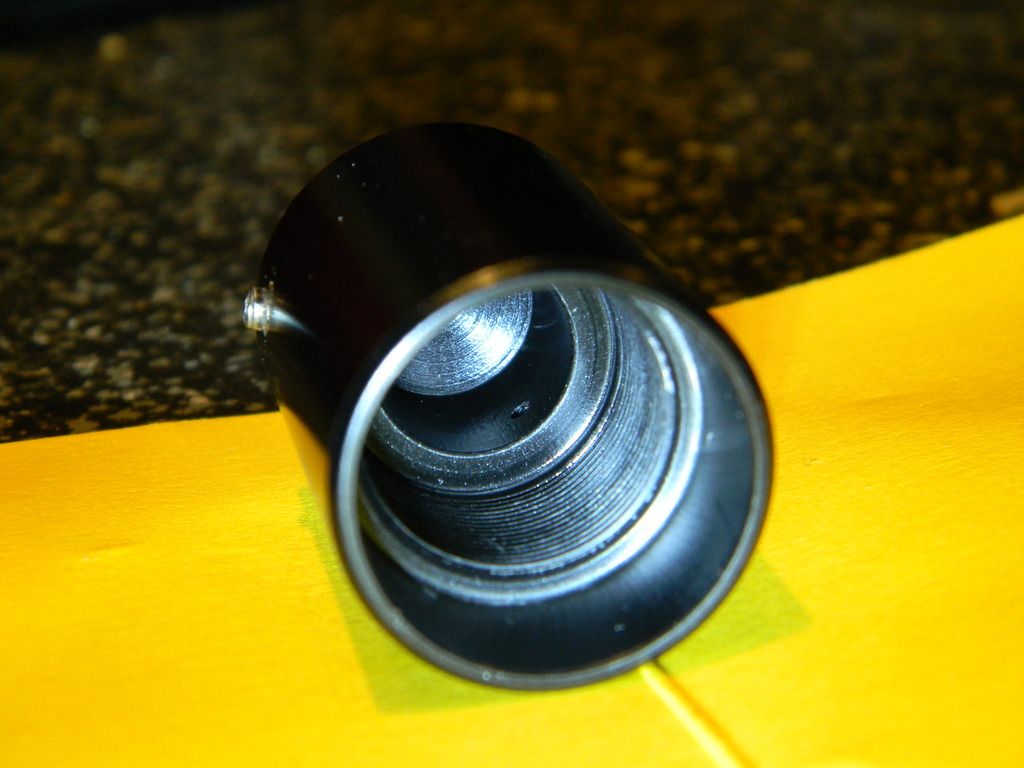
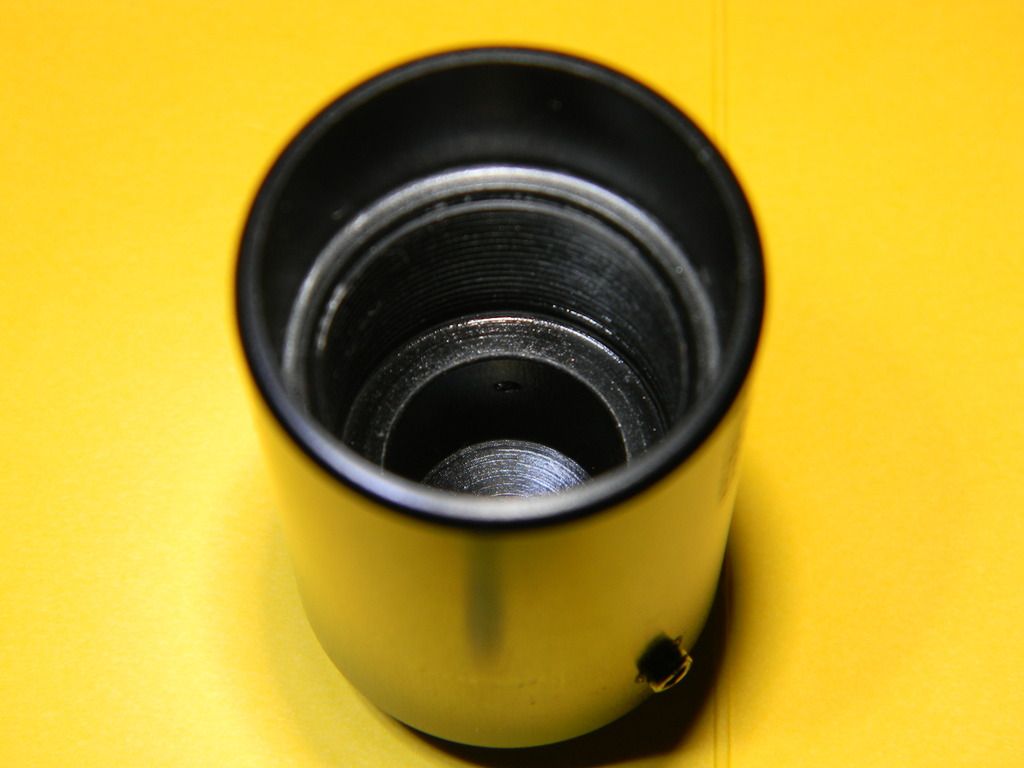
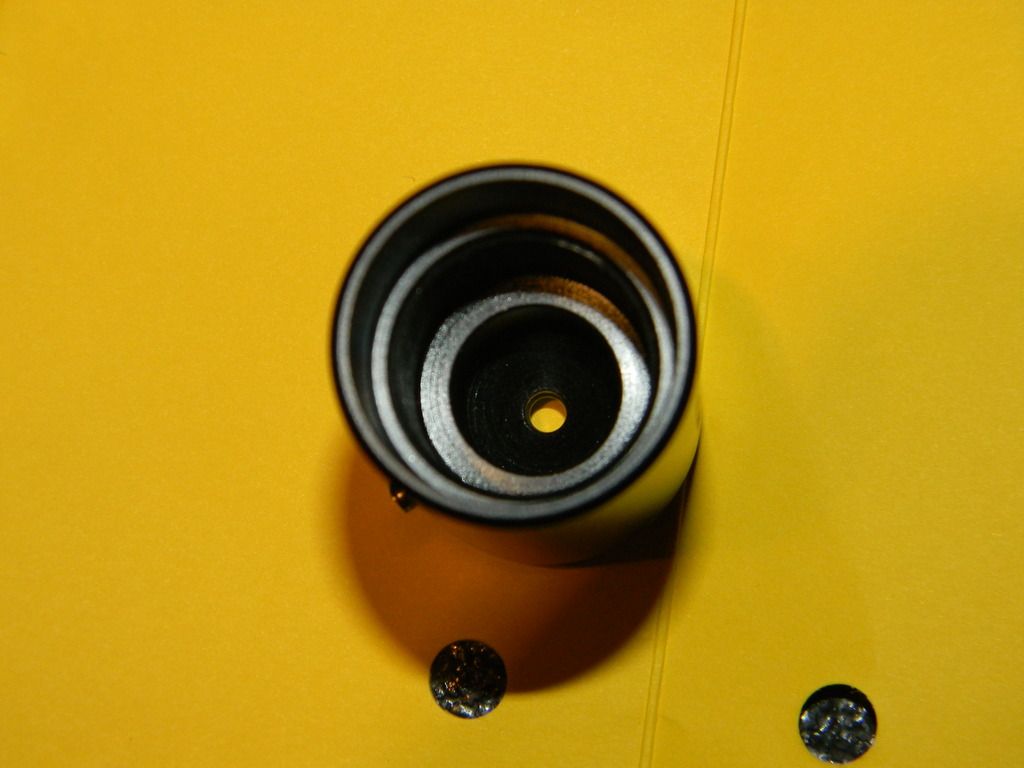
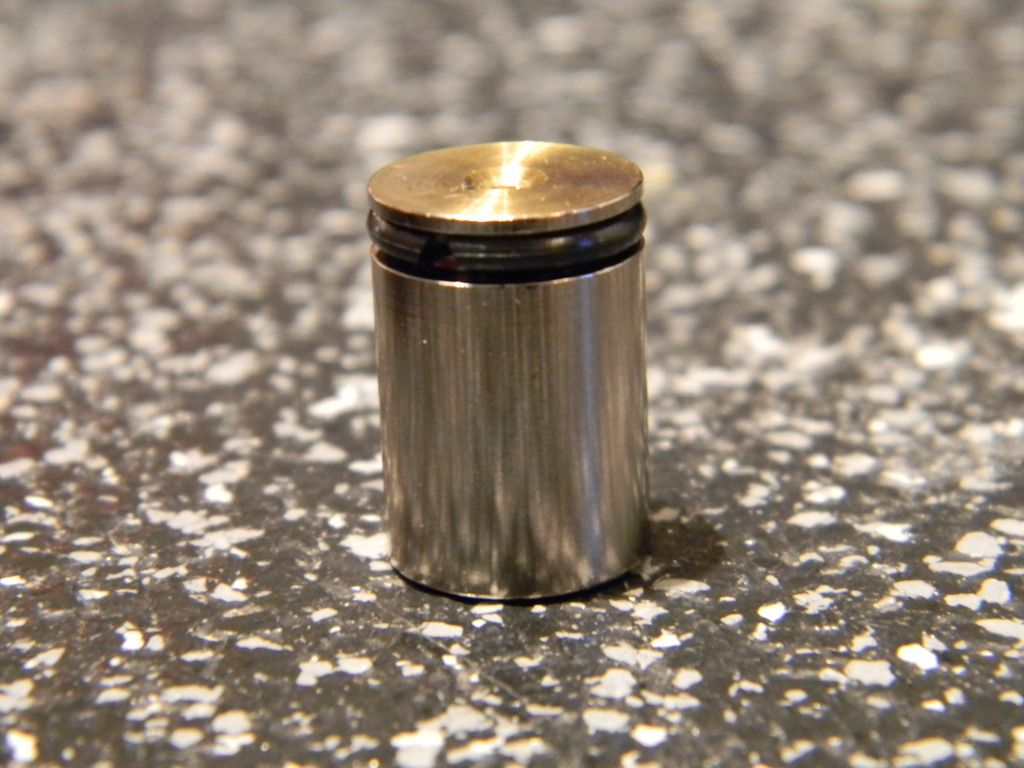
    Here are the pics. On further inspection, i really don't see any burrs or gouges. It appears I was looking at the pressure relief port? The hole goes all the way through. But it looks like there is epoxy or something mostly blocking the hole. It does not feel significantly rough on the inside where the piston goes. Also, there are a couple other pictures trying to show no other obvious damage to the body. Other pics show the reg piston and damaged oring. Both orings that were damaged looked like they were damaged identically or awfully similar. No signs of roughness on the reg piston itself. The inner reg spring is rough on the ground edges which I will smooth out just in case. No offending debris was found. But now I am not entirely sure what could cause the oring damage.


    Thoughts?

  14. #14
    Join Date
    Oct 2006
    Location
    Houston, TX
    Posts
    3,555
    That should be a urethane o-ring, probably 90 duro. However, I suspect Athomas was correct about the reg seat leak, which would overpressure the piston, pushing it back to the vent, where the o-ring extrudes into the hole. When you fire, the piston drops and chops the edge off of the o-ring.

    That would also explain the bits of o-ring you found.

    I forgot that the reg spring doesn't even run in the same bore as the seal.

  15. #15
    That is a urethane Oring... But 70D. Thanks for the elaboration on what Athomas said. It makes sense. Still new to these regs.

    Everyone else agree with this? So just give her a full rebuild and we should be ready to go?

    Athomas mentioned an updated reg piston assembly for use with the L10. Judging by my pics, do I have the correct part?

    So what is the best way to adjust the RT effect? File the pin, or add ult shims between the on/off halves? I will be placing an order with Tunaman, so I want to make sure I get everything in one order.

    I greatly appreciate all the wisdom guys!

  16. #16
    Join Date
    Jan 2002
    Location
    Halifax, N.S., Canada
    Posts
    8,039
    That is a urethane oring? It looks quite dark in the pictures. I would have guessed it was a buna oring as well. Try a harder 90 durometer urethane oring to see if it helps.

    You can't tell if its an updated reg piston assembly. If it doesn't leak out the back when you are shooting at the desired velocity using a red or grey bolt spring, then it is probably an updated piston assembly. If it doesn't leak out the back at really low velocities or at a setting that won't allow the gun to shoot, but starts to leak as you increase the velocity, then it is probably an older assembly.

    The shims in between the halves will allow you to experiment with reactivity without filing down your pin. Since you have a shorter 0.740" pin, you shouldn't need to file it down if you use the shims. Don't use too many shims. Too many shims will cause the top to squeeze the oring on the pin and reduce your reactivity. If you have to press the on-off assembly into the valve with quite a bit of force in order to get the valve into the body, then you have too many shims installed. If the on-off assembly fits nicely and the valve slides into the body without restriction, then you are fine.

  17. #17
    Yes, it is definitely urethane. I bought a standard set of 10 each from mcmaster carr. They are all black, not the expected clear.

    Are the ULT and L10 shims the same? So simply unscrew the two halves of the on/off, put in a shim at a time and reassemble?

    Once I get the gun up and running, I will tune for the RT.

    The only other odd situation I had was when I first aired it up and did not leak, It was shooting 350 fps or so (with a chrono). I turned it out quite a bit but it never dropped. After about 20 cycles/shots or so it started the leak. It has the gold mainspring on the bolt.

  18. #18
    Join Date
    Jan 2002
    Location
    Halifax, N.S., Canada
    Posts
    8,039
    ULT shims are 0.005" thick and level 10 shims are 0.010" thick. Two ULT shims equals one level 10 shim. Yes, just unscrew the two halves and put a shim over the threads and reassemble.

    If you aired it up and couldn't get it to shoot under 350 fps, even after turning the adjuster out quite a bit, its most likely that your regulator seat oring is leaking.

  19. #19
    So that just reiterates your initial thoughts. Even better. ULT and L10 shims are the same ID and OD then?


    Why does the regulator piston in my valve look completely different than the AGD blow-up diagram of the retro valve and in the parts break down?

  20. #20
    Join Date
    Jan 2001
    Location
    Cottonwood, Az.
    Posts
    8,186
    The type of damage to the oring looks to me like it's getting clipped off as it's being compressed to squeeze into the cavity. I would chalk this up to being the wrong o-ring and or material type. I have seen that exact damage to o-rings in the prototype stage of making and designing parts. Generally it has to do with the wrong parameter spec for the o-ring being used, for example stretch, compression, groove size and cavity diameter. Since we know the AGD parts are to spec I would bet that the spec of the o-ring is incorrect including the material type.

  21. #21
    Hmm. Its a 70D 012 urethane oring. Good to know.

    Luke, Athomas, anyone else... should I purchase a new reg piston while I am at it? Or should I use the one I have?

    So my parts list to order are...

    genuine AGD RT parts kit
    L10 rebuild orings
    RT pin (to have as a spare)
    one pack of ULT shims
    Spare bolt foamie
    new reg piston???

  22. #22
    Join Date
    Jan 2001
    Location
    Cottonwood, Az.
    Posts
    8,186
    Its a 70D 012 urethane oring.
    I'm simply saying that I've seen that exact damage and it was due to in correct specifications. The "odd part out" here is the non AGD spec o-ring so if there is no visual damage to the piston or cavity the first thing I would do is install the correct o-ring. I do suggest that you remove the o-ring and closely inspect the parts under a magnifying glass to see if there is any damage. I would only replace the piston if it's damaged beyond repair. If there is a burr or something, that can probably be repaired...

  23. #23
    Understood. I used the urethane over buna to prevent a possible issue. But I will order the genuine agd kit. Unfortunately I do not have a magnifying glass.

  24. #24
    Join Date
    Jan 2001
    Location
    Cottonwood, Az.
    Posts
    8,186
    I have always had a magnifying glass in my gear bag, found many damaged o-rings. I even inspect the new ones before and after installing them.
    http://www.ebay.com/itm/Loupe-Double...UAAOSwnipWU5q~

  25. #25
    Join Date
    Oct 2006
    Location
    Houston, TX
    Posts
    3,555
    Off spec or not, the o-ring shouldn't normally reach the vent to get nibbled upon.

    You can use non-AGD o-rings as long as they are the right size and material. I bought a bunch of good banjo bolt o-rings from mcmaster, then got my RT to stop chewing them.

    Avoid Chinese o-rings. I've seen some absolutely terrible round things they sold as o-rings. That was one of WDPs A1 angel problems; the Chinese o-rings were bad out of the box. I have one where I had to replace most of the o-rings just to get it running the first time, brand new.

  26. #26
    I noticed the el-cheapo orings I have from Harbor freight are clearly not the correct size. I was able to put new banjo bolt orings on since I had ordered a 100 pack or 90D buna 009 and other sizes from McMaster Carr a while back. Their orings are usually pretty good. I only have like 90 more of those 90D orings for the banjo bolt. They were so hard to put on due to the duro, I doubt I will need the other 90 I have, lol.

  27. #27
    Join Date
    Jan 2001
    Location
    Cottonwood, Az.
    Posts
    8,186
    Quote Originally Posted by athomas View Post
    If you have a level 10 bolt, the regulator piston assembly needs to be the newer higher pressure version as well.
    Re-tuned not replaced.

  28. #28
    cool beans there!

  29. #29
    Join Date
    Jan 2001
    Location
    Cottonwood, Az.
    Posts
    8,186
    Quote Originally Posted by Spider-TW View Post
    Off spec or not, the o-ring shouldn't normally reach the vent to get nibbled upon.
    I would wager it's getting clipped on the leading edge of the cavity during install not the vent hole.

  30. #30
    Join Date
    Jan 2002
    Location
    Halifax, N.S., Canada
    Posts
    8,039
    Quote Originally Posted by luke View Post
    Re-tuned not replaced.
    Yes, but most don't have the ability to retune them like you or a few others here.

    I agree that the oring is probably getting pinched on the install into the cavity, or is getting pinched in the groove once the pressure hits it if it is the wrong spec (ie; too loose or wrong dimensions).

Posting Permissions

  • You may not post new threads
  • You may not post replies
  • You may not post attachments
  • You may not edit your posts
  •